Learning how to clean a caulk gun after each use is the simplest way to keep it working smoothly and avoid costly replacements. Most caulking gun problems — stiff triggers, uneven dispensing, persistent dripping — start with dried sealant buildup on the rod and frame, not with mechanical failure. This guide covers the full maintenance workflow for single component cartridge caulking guns: cleaning, removing dried residue, lubricating, and storing.
Why Caulking Gun Maintenance Matters for B2B Buyers
For contractors, distributors, and procurement teams, a caulking gun is a daily-use tool. When dried caulk builds up on the plunger rod or inside the frame, the trigger becomes harder to squeeze, the sealant bead becomes inconsistent, and workers lose time fighting the tool instead of applying material.
Replacing guns frequently costs more than a five-minute cleaning routine. A metal-frame manual caulking gun that receives regular maintenance can last through hundreds of cartridges. One that is never cleaned may seize up after a few dozen. For wholesale buyers and distributors, the difference in tool lifespan directly affects replacement purchasing frequency and customer satisfaction.
How to Clean a Caulking Gun After Each Use
The best time to clean a caulking gun is immediately after removing an empty cartridge. At that point, the sealant is still soft and wipes away easily. Here is the step-by-step process for cartridge-based single component guns:
- Remove the empty cartridge. Pull back the plunger rod using the release lever or thumb tab. Lift the spent cartridge out of the frame. Learning how to remove caulk tube from caulk gun properly prevents damage to the release mechanism.
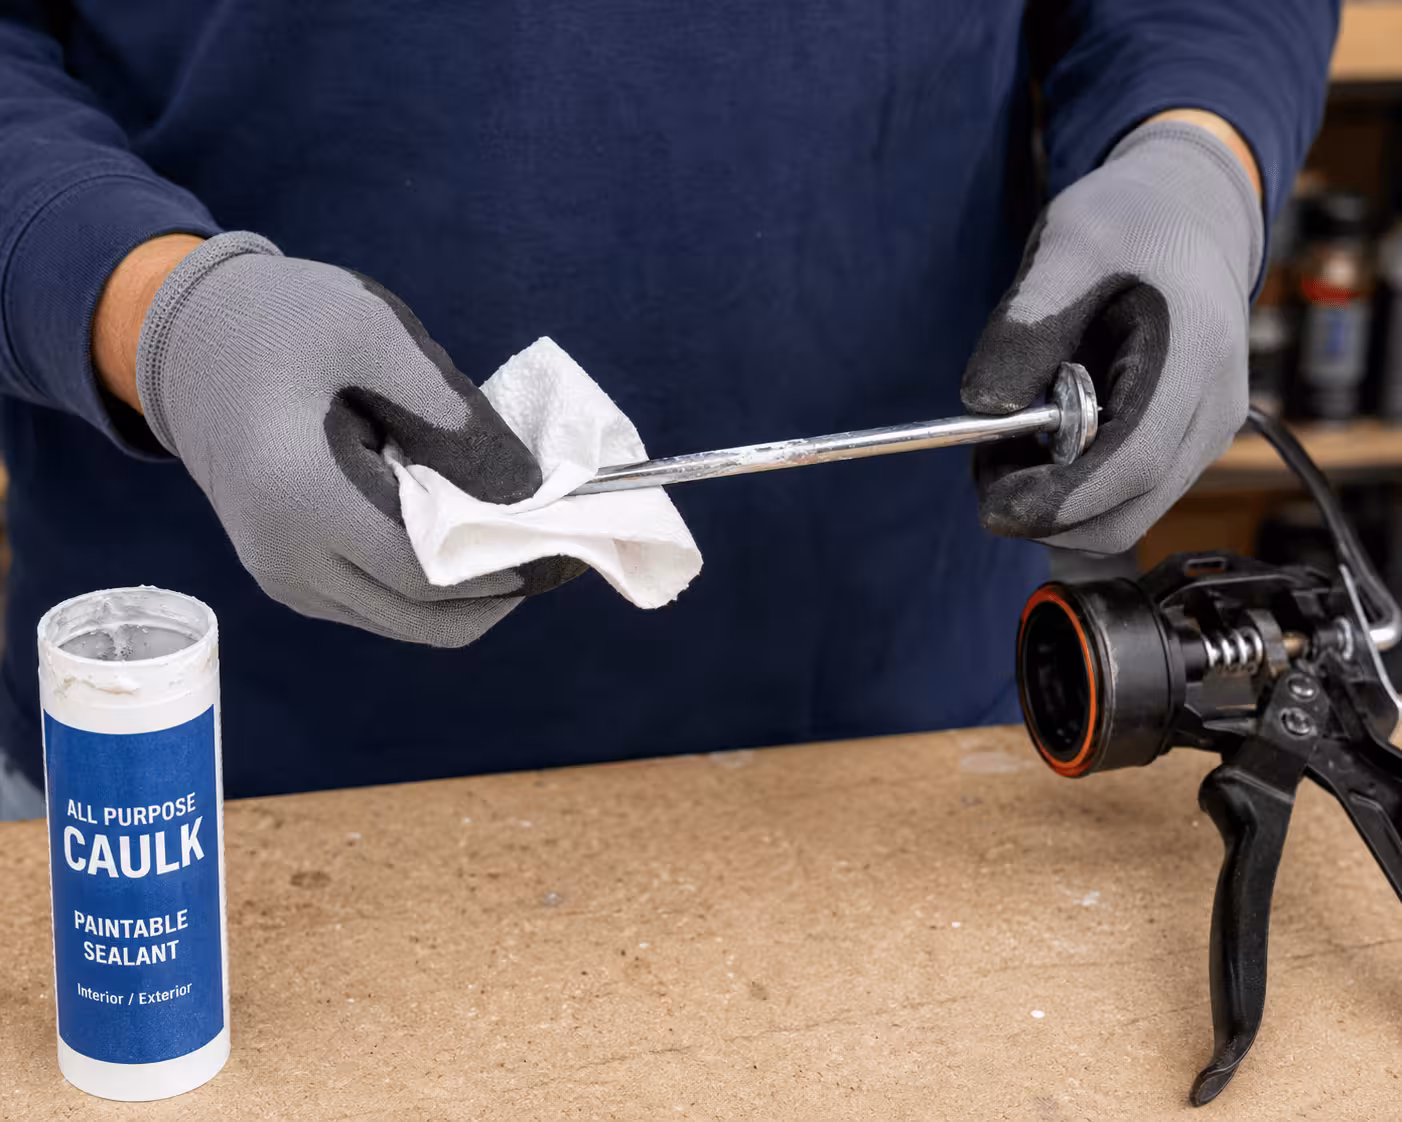
- Wipe the plunger rod. Use a dry cloth or paper towel to wipe the rod from front to back. If sealant is still wet, a damp cloth with warm water (for latex or acrylic caulk) or mineral spirits (for silicone or polyurethane caulk) will remove it quickly.
- Clean the frame and nozzle area. Wipe the inside of the cradle where the cartridge sat. Pay attention to the front opening where the nozzle passes through — dried buildup here restricts airflow and affects dispensing pressure.
- Dry all parts. Before you load a caulk gun with the next cartridge, make sure the rod, frame, and trigger mechanism are dry. Moisture left on metal parts can cause surface rust over time.
Professionals who clean their guns right after each use spend significantly less time on deep cleaning later. The key insight is that wet sealant wipes off in seconds, while dried sealant can take ten minutes of scraping.
How to Remove Dried Caulk from a Caulking Gun
If residue has already hardened on the rod or frame, a simple wipe will not be enough. Here is how to remove caulk from a gun that has been sitting with dried material:
For latex or acrylic residue: Soak the affected parts in warm water for 10 to 15 minutes. The water softens the dried material enough to scrape it off with a putty knife or utility blade. Some professionals also use a vinegar solution — boiling water with a cup of white vinegar loosens hardened latex residue on metal surfaces effectively.
For silicone or polyurethane residue: Mineral spirits or rubbing alcohol work better than water for these solvent-based materials. Apply the solvent to a cloth, wrap it around the affected area, and wait five to ten minutes before scraping.
For stubborn buildup on the plunger rod: Apply a small amount of penetrating oil (such as WD-40) directly to the dried residue. Let it sit for ten minutes, then scrape with a plastic scraper to avoid scratching the metal rod. A scratched rod can damage cartridge seals and cause leaking.
When residue has built up so heavily that the trigger mechanism is affected — drive plates slipping, rod bending, or frame cracking — it may be time to replace the gun rather than continue cleaning. For B2B buyers, keeping a small inventory of replacement guns prevents downtime on job sites.
Lubricating Your Caulking Gun for Smooth Operation
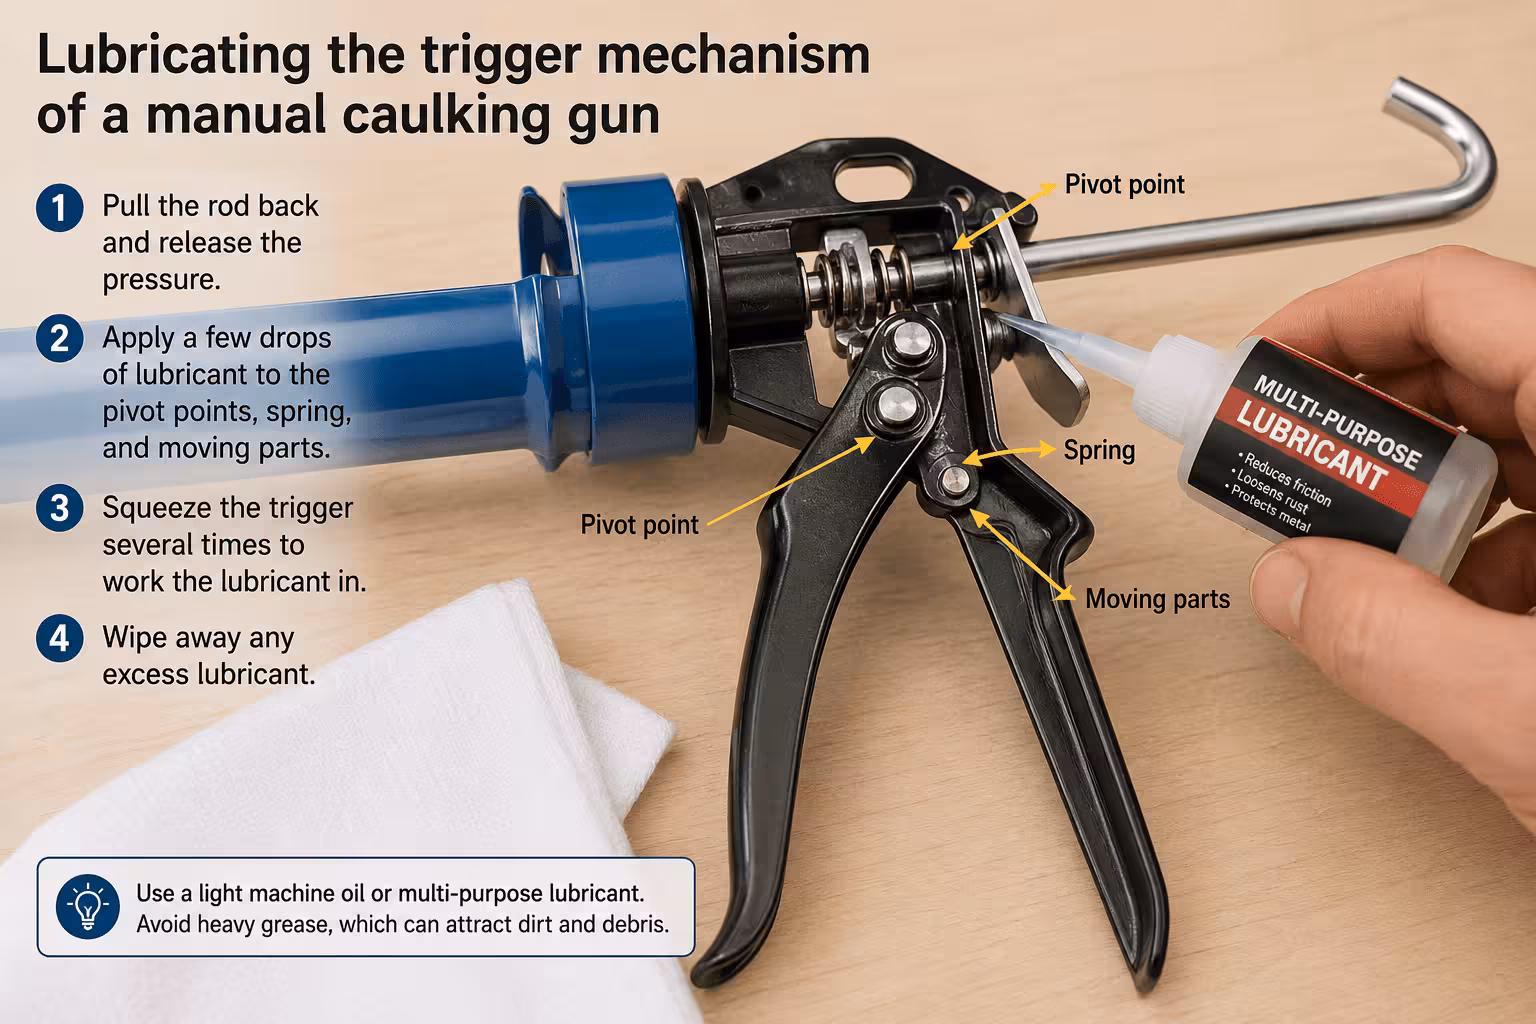
After cleaning and drying, a light application of lubricant keeps the moving parts working smoothly. Here is what to lubricate and how:
- Trigger mechanism and drive plates: Apply two to three drops of lightweight machine oil or a short spray of WD-40 to the pivot points where the trigger connects to the frame. Work the trigger several times to distribute the lubricant.
- Plunger rod: Wipe a thin film of oil along the length of the rod. This reduces friction when the rod slides forward during dispensing. Avoid over-lubricating — excess oil can transfer to the sealant bead and affect adhesion.
- Release lever: Apply a small drop of oil to the hinge point of the release lever or thumb tab. Understanding how to sealant gun how to release pressure quickly helps prevent dripping between beads. A smooth release mechanism lets the user relieve pressure inside the cartridge immediately after finishing a line.
Lubrication frequency depends on usage. For daily-use guns, lubricate after every deep clean or at least monthly. For guns used less frequently, lubricate before each use. On higher thrust ratio guns (such as 1:18 or 1:26 models), lubrication has a more noticeable effect on trigger feel because the mechanical advantage amplifies any friction in the system.
How to Store a Caulking Gun Properly
Storage conditions affect how quickly residue builds up and how long the tool lasts between maintenance cycles:
- Hang or rack the gun. Storing the gun on a hook or tool rack keeps it off dirty surfaces and allows air to circulate around the rod and frame. This prevents moisture buildup and surface rust.
- Retract the plunger rod. After removing the cartridge, pull the rod all the way back. Leaving the rod extended keeps the spring under tension, which weakens it over time.
- Seal open cartridges. If a cartridge still has material left, push a nail or screw into the cut nozzle tip, or use a nozzle cap. Some workers wrap the nozzle tip with tape. This prevents air from drying out the sealant inside the tube, saving material and avoiding waste.
- Store in a cool, dry location. Direct sunlight and extreme heat can degrade rubber seals and dry out any residual sealant on the gun. A shaded tool bag or climate-controlled storage area works best.
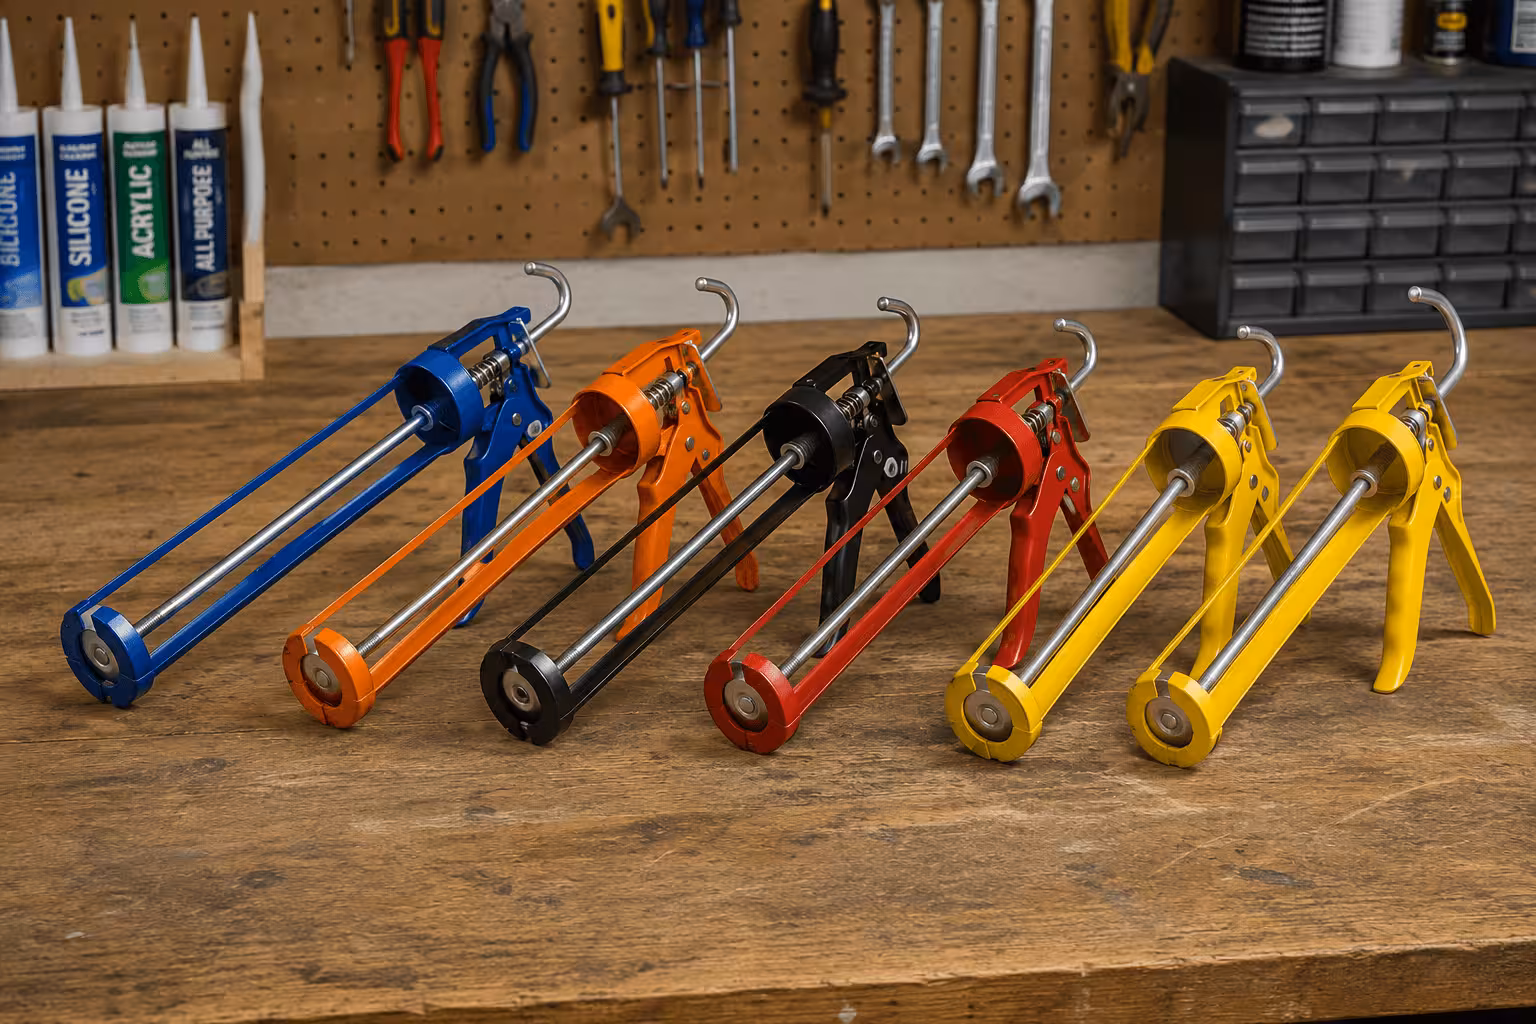
For warehouse and inventory management, organizing guns on labeled racks by thrust ratio or model helps workers find the right tool quickly and reduces the chance of mixing different specifications in bulk orders.
Maintenance Schedule for Bulk Caulking Gun Inventory
For B2B buyers managing multiple guns across teams or job sites, a simple maintenance schedule reduces replacement costs and keeps operations running:
| Frequency | Task |
|---|---|
| After each use | Wipe rod, frame, and nozzle with appropriate cleaning material |
| Weekly | Inspect trigger mechanism and drive plates for wear or slipping |
| Monthly | Full cleaning, lubrication, and storage inspection |
| Quarterly | Check for bent rods, worn pistons, and frame damage; replace parts as needed |
This schedule works for both individual contractors and large-scale operations. Distributors who provide maintenance guidelines with their caulking gun orders see fewer warranty claims and higher repeat purchasing.
FAQ
How often should I clean my caulking gun?
Clean the gun after every use. The five minutes it takes to wipe down the rod and frame prevents hours of deep cleaning later. For guns used daily in commercial settings, a quick wipe after each cartridge swap is the standard practice among professional tradespeople.
Can I use water to clean a silicone caulk gun?
Water alone will not remove silicone residue because silicone is solvent-based. Use mineral spirits, rubbing alcohol, or a dedicated silicone remover instead. For cartridge-based guns, apply the solvent to a cloth and wipe the rod and frame — do not submerge the trigger mechanism in liquid.
What lubricant is best for a caulking gun?
Lightweight machine oil or WD-40 works well for most manual caulking guns. Apply a small amount to the trigger pivot points, drive plates, and plunger rod. Avoid heavy greases, which attract dust and can slow down the trigger response.
How do I know when to replace my caulking gun?
Replace the gun when the trigger mechanism slips consistently, the plunger rod is visibly bent, the frame shows cracks, or the release lever no longer holds pressure. For B2B buyers, keeping a replacement ratio of one spare gun for every five in active use prevents job site downtime.
Does maintenance affect the warranty on caulking guns?
Regular cleaning and lubrication do not void warranties — they extend tool life. Most manufacturers expect users to perform basic maintenance. Damage caused by neglect (seized rods, cracked frames from forcing stuck mechanisms) is typically not covered under warranty.
How does a caulk gun work?
A manual caulking gun uses a trigger-linked drive plate to push the plunger rod forward into the cartridge. Each squeeze of the trigger advances the rod a small distance, creating pressure that forces sealant out through the nozzle. The release lever allows the user to relieve this pressure, stopping the flow. Understanding this mechanism helps users recognize when cleaning or lubrication is needed — if the trigger feels stiff or the rod does not advance smoothly, dried residue or lack of lubrication is usually the cause.
Can I use the same cleaning method for bulk and cartridge guns?
The basic principle is the same — remove residue and lubricate moving parts. However, bulk guns have a barrel and piston that require flushing with solvent or warm water, while cartridge guns only need the rod and frame wiped down. Bulk gun cleaning is more involved because material contacts the barrel directly.
What to Do Next
If your caulking guns are experiencing stiffness, dripping, or inconsistent dispensing, start with the cleaning and lubrication steps in this guide. For new procurement, browse the single component caulking gun models available from CaulkMFG — including 1:18 and 1:26 thrust ratio options designed for silicone, acrylic, and construction sealant applications. If you are evaluating which thrust ratio fits your target market, see our thrust ratio guide for a detailed comparison. For guns that are already not working properly, check our troubleshooting guide before deciding whether to repair or replace.