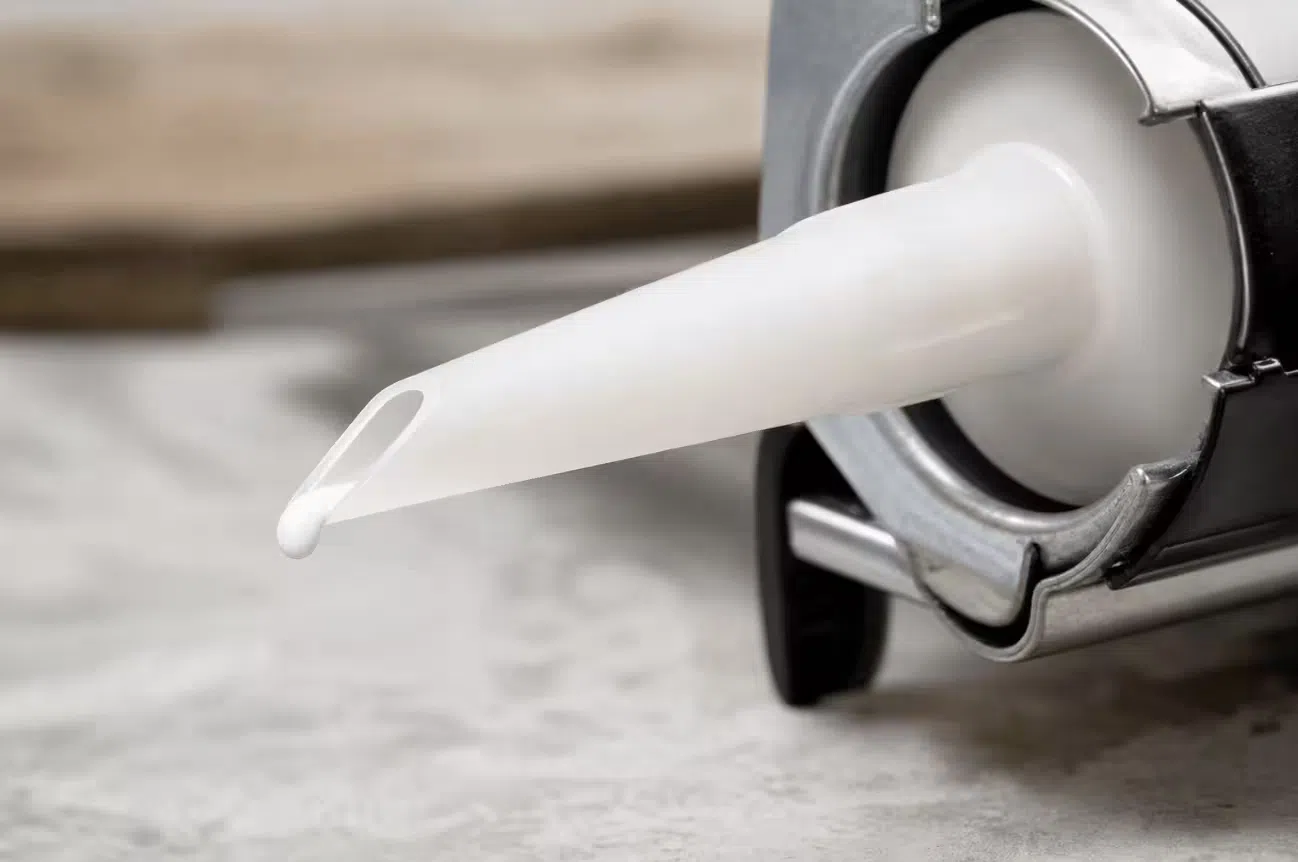
Using a caulking gun well is about material cost, job quality, and tool longevity — three factors that matter directly to contractors, distributors, and procurement managers who order, stock, or use manual caulking guns. Poor technique wastes sealant, produces rework, wears out tools faster, and can frustrate operators who end up blaming the equipment instead of the method.
This guide covers practical caulking gun tips that help operators lay cleaner beads, reduce material waste, avoid common mistakes, and extend tool life. Each section also explains what to look for when ordering or stocking caulking guns so these problems are easier to prevent in the first place.
Choosing the Right Caulking Gun for the Job
Many bead-quality problems start with the wrong tool. A low-thrust gun used with thick sealant will be hard to squeeze and produce an uneven bead. A gun with an unsuitable frame material may flex under heavy use and reduce control. Matching the tool to the material is the first step.
Manual caulking guns for 300 ml cartridges are available in several thrust ratios. Higher ratio means more mechanical advantage — less hand force needed per squeeze.
| Specification | Typical Range | What It Affects | B2B Buying Note |
|---|---|---|---|
| Thrust ratio | 7:1 to 26:1 | Required hand force; thicker sealant needs higher ratio | Stock 12:1 and 24:1 models (e.g., Model 03 and Model 04) to cover general and heavy-duty jobs |
| Frame material | Aluminum alloy or steel | Weight, durability, corrosion resistance | Steel for durability on job sites; aluminum alloy for balanced weight in extended use |
| Dripless mechanism | Spring-loaded pressure release | Post-trigger dripping | Essential for clean bead stops; reduces material waste |
| Cartridge size | 300 ml (standard) | Sealant type compatibility | Most construction sealants use 300 ml; confirm cartridge fit before bulk ordering |
The manual component guns product page lists four models with thrust ratios from 7:1 to 26:1 and frame materials in aluminum alloy and steel. Distributors who stock a range of thrust ratios reduce the chance operators use an underpowered gun for thick material.
Loading and Cartridge Preparation
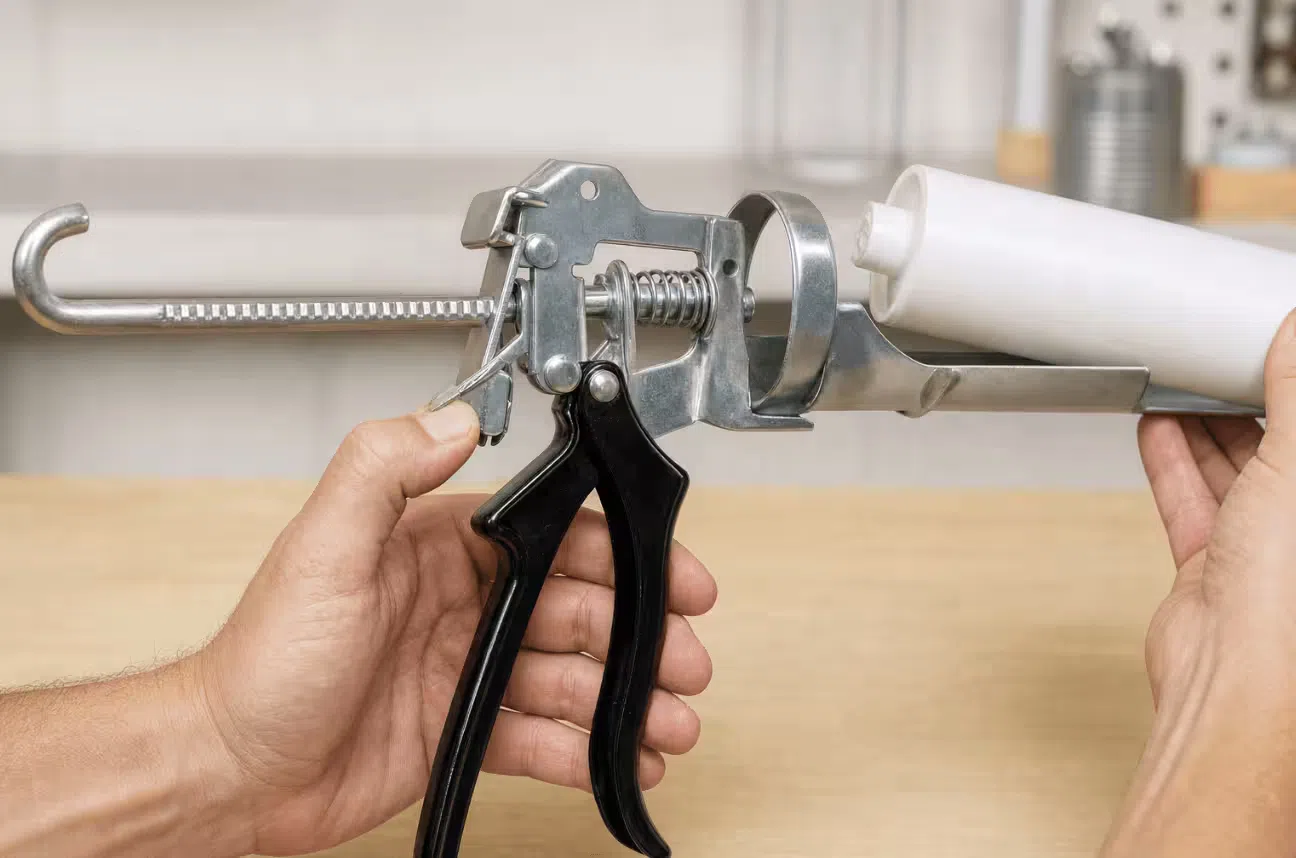
Most loading errors are easy to fix but cause the most frustration. A gun that feels hard to squeeze or produces a spluttering bead is often misloaded or poorly prepared.
Retract the plunger rod fully. Place the cartridge nose-first through the front ring, then seat the heel into the cradle. Push the rod forward until it sits against the tube base. This sounds basic, but a cartridge that is not seated flat in the cradle shifts when pressure is applied, making the bead uneven.
Cut the nozzle at a 45-degree angle at a point that matches the bead width needed. A common mistake is cutting too far back, which creates an opening too large for a narrow joint and wastes sealant. Users on trade forums frequently report that getting the nozzle cut right is the single biggest improvement they made to bead quality. These are practical caulking nozzle tips that apply regardless of the gun brand.
Pierce the inner foil seal. If the seal is not fully broken, the trigger resists and little sealant comes out. A single small hole is not enough for thick sealant — poke in several places or use the puncture rod built into some gun frames. Contractors note that cold sealant is noticeably harder to dispense, so warming the cartridge before use (not above 35 °C) reduces hand strain.
For a step-by-step guide with more detail on each step, see the caulking gun nozzle guide.
Bead Control and Trigger Technique
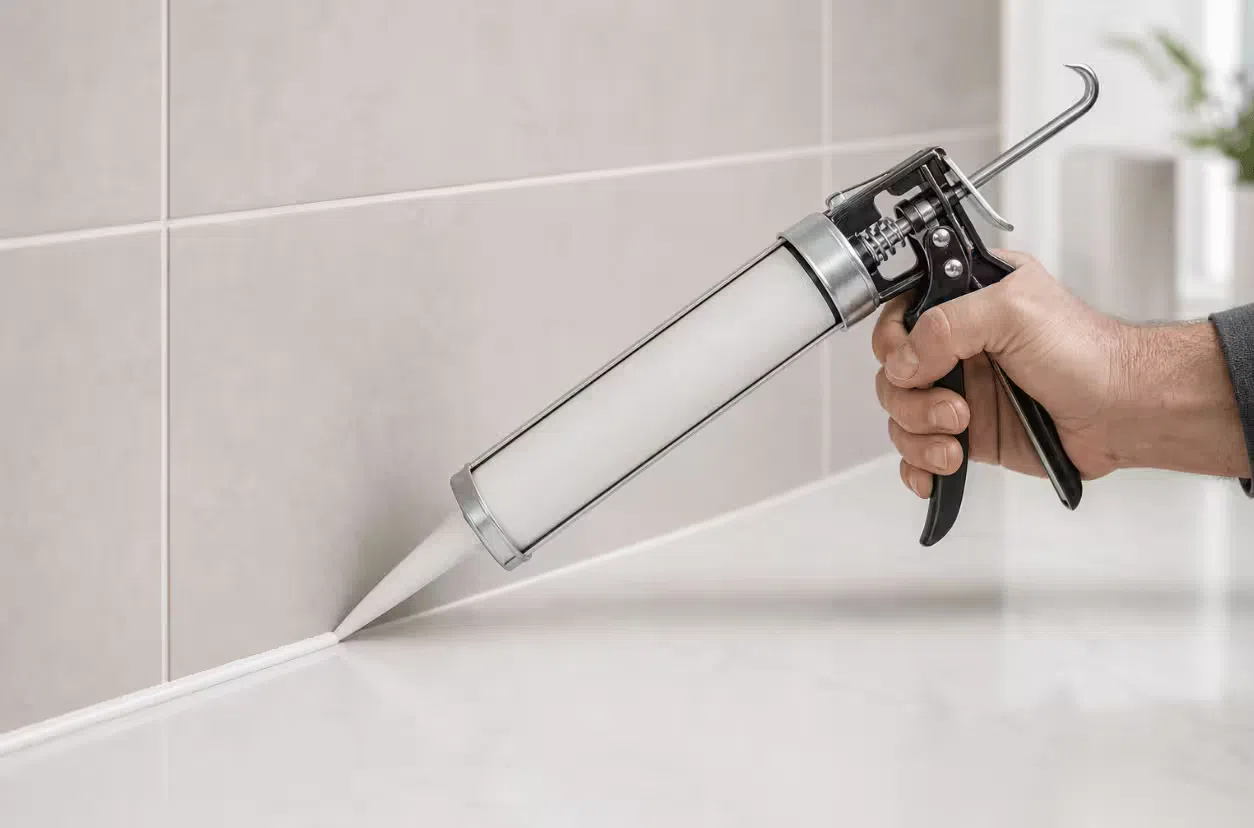
Professional caulking requires a steady trigger hand. Squeeze the trigger steadily and move the gun along the joint at a consistent speed. The bead width is controlled by the nozzle opening size and the travel speed — not by how hard you squeeze.
Hold the gun at a 45-degree angle to the joint. This angle helps the sealant flow into the gap rather than sitting on the surface. For wide gaps, push the bead into the joint with the nozzle tip. A consistent angle produces a cleaner finish and reduces the amount of smoothing needed afterward.
The trigger mechanism type matters here. Ratchet rod guns advance in fixed increments and suit users who prefer discrete pressure steps. Smooth rod guns allow continuous trigger control, which helps maintain an even bead. The caulking gun trigger mechanism types article explains the difference for B2B sourcing decisions.
Release the trigger just before reaching the end of the joint. The slight delay between releasing and flow stopping means sealant will still fill the final centimetre. This one habit significantly reduces the blob of excess sealant that beginners leave at the end of each bead.
| Application | Recommended Thrust Ratio | Key Specs to Check |
|---|---|---|
| General construction sealing (silicone, acrylic) | 7:1 to 12:1 | Frame weight, nozzle cutter included |
| Window and door installation | 12:1 to 18:1 | Dripless mechanism, ergonomic handle |
| Thick adhesives and polyurethane sealants | 18:1 to 26:1 | Steel frame for durability, thrust plate size |
| Cold-weather or high-viscosity material | 24:1 or higher | Dual-range thrust (e.g., 12:1/24:1) for flexibility |
Preventing Sealant Drips
Dripping after the trigger is released is one of the most common complaints. The cause is residual pressure in the cartridge. When you stop squeezing, the plunger rod still pushes against the tube base, and pressure forces sealant out through the nozzle until it equalises.
A dripless caulking gun uses a spring-loaded mechanism that slightly retracts the plunger when the trigger is released, relieving cartridge pressure. This is a mechanical feature, not a guarantee — actual dripping still depends on sealant viscosity, temperature, and how quickly pressure is released.
If the gun drips despite having a dripless mechanism, check that the plunger rod moves freely. Dried sealant on the rod or inside the barrel can prevent the spring from retracting fully. Clean the rod after each use.
For guns without a dripless design, manually press the release lever or pull the rod back slightly after each bead. This takes a second and stops most dripping. The caulk gun hard to squeeze article covers additional trigger resistance problems and solutions.
Reducing Material Waste
Sealant waste is a direct cost that many teams overlook. The main sources are nozzle openings cut too large, half-used cartridges that dry out, and unnecessary rework from poor bead quality.
Match the nozzle opening to the joint width. A rule of thumb: cut the nozzle at a point where the opening is roughly the same width as the gap being filled. For a 3 mm gap, cut close to the tip. For a 6 mm gap, cut further back. Cutting too far back for a narrow joint wastes sealant every time.
Store partially used cartridges properly. Insert a long nail, screw, or the puncture rod into the nozzle tip after use. This creates an airtight seal that keeps the remaining sealant usable for weeks. Plastic caps and tape are less reliable — users on trade forums confirm this repeatedly.
Change cartridges efficiently. When the current cartridge is empty, pull back the rod, remove the cartridge, and insert the next one without cleaning the gun between cartridges if the sealant type is the same. If switching sealant types (e.g., silicone to polyurethane), clean the frame and nozzle to avoid contamination.
Maintenance for Longer Tool Life
A caulking gun that is cleaned and lubricated regularly lasts significantly longer and performs better. This matters for buyers who provide guns to crews — reducing tool replacements lowers operating costs.
Clean the plunger rod after each use. Wipe off wet sealant with a cloth before it dries. For silicone-based sealant, a dry cloth is often enough. For polyurethane or hybrid sealants, mineral spirits help remove residue before it cures.
Lubricate the rod and release lever mechanism with light machine oil or WD-40 every few uses. This keeps the trigger action smooth and the dripless spring working. Users who skip lubrication are more likely to report guns that feel sticky or hard to release.
Store guns with the plunger rod retracted in a dry area. Storing with the rod forward leaves pressure on the spring and can weaken it over time. A wall hook or tool rack works well.
For internal parts and trigger mechanism maintenance, the professional grade manual caulking gun features article provides more detail on frame construction and component durability.
FAQ
How do I stop my caulk gun from dripping? Use the release lever to relieve pressure immediately after finishing a bead. If the gun has a dripless mechanism, check that the spring retracts the rod freely. Clean any dried sealant from the rod. If dripping continues with a dripless model and the rod moves freely, the sealant may be too thin — try a slower trigger release at the end of each bead.
How often should I clean my caulking gun? Wipe wet sealant from the rod and frame after each use. Lubricate the rod every few uses or whenever the trigger feels stiff. Clean thoroughly between different sealant types to avoid cross-contamination.
Can I use the same caulking gun for silicone and polyurethane sealant? Yes, but clean the frame, rod, and nozzle thoroughly between sealant types. Polyurethane cures differently from silicone and residue from one can affect the other's adhesion. Use mineral spirits for polyurethane and a dry cloth for silicone.
What thrust ratio should I order for thick construction adhesives? 24:1 or higher. The CaulkMFG Model 04 (12:1/24:1 dual-range) and Model 02 (26:1) are designed for high-viscosity material. For distributors, stocking a 24:1 or 26:1 model alongside general-purpose 12:1 guns covers most end-user applications.
Do you offer OEM or private-label caulking guns? Yes. CaulkMFG supports OEM branding, custom colors, and packaging for manual component guns. For bulk orders, distributors typically specify required quantity, target market, cartridge size, preferred color, and logo or packaging requirements so the factory can recommend a suitable model.
What is the minimum order quantity for wholesale caulking guns? MOQ depends on the model and customization level. Standard models in factory colors are available at lower MOQs. Custom OEM orders typically require larger quantities. Contact the CaulkMFG sales team with your expected order size and target market for a specific quote.
Get the Right Caulking Gun for Your Application
The best caulking gun tips are useless if the tool does not match the job. Stocking a range of thrust ratios, frame materials, and dripless options helps ensure operators have the right tool for each sealant type and application. CaulkMFG supplies manual component guns in four configurations with OEM options for wholesale and bulk orders.
Browse the manual component guns product page to compare models. When requesting a quote, include your target sealant type, cartridge or pack size, target market, preferred color, logo or packaging requirements, and expected order quantity so the factory can recommend the right model.